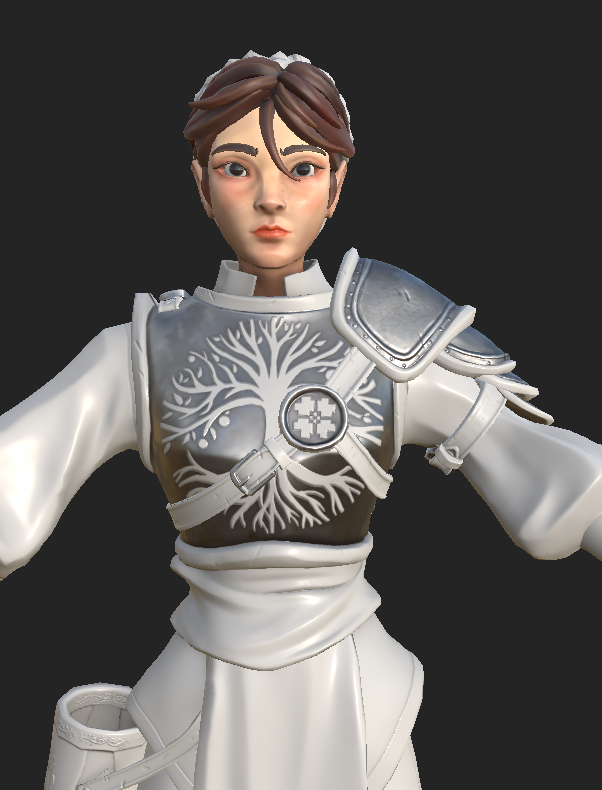
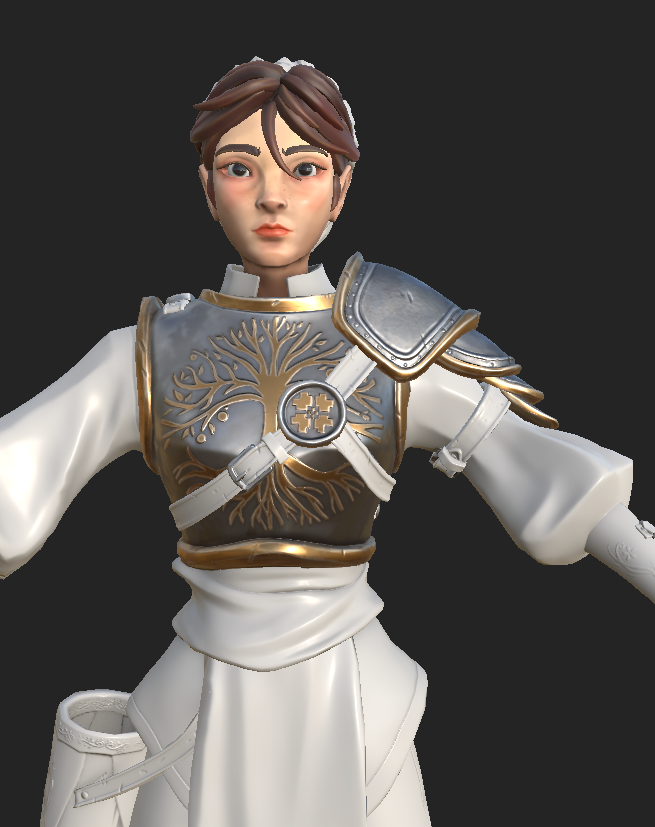
For this project specifically, my favourite step was texturing. I think it really brought the characters to life and it's always nice to see them come together.
I started with the face, throwing on a plain colour first. I had little to none very visible errors, although I had to do an exploded bake first, because the hair strands kept baking onto each other no matter how I adjusted the settings. I also had some weird artifacts going on on the back of the hair, which turned to be because of the high poly mesh being too thin (and the head underneath probably baking onto the hair, although I am not sure). I had to therefore go back into Zbrush and use Zmodeler to add some thickness underneath the hair then reimport the high poly mesh.
I first added some tones to the face using paint layers and a blur filter to even them out: some red tones for the cheeks (and a bit on the nose and chin to make her cuter), yellow tones mainly on the forehead and a bit on the cheeks and some blue tones on the jaw and underneath the eyes. I also added some glossier surfaces on the cheeks and chin.
Using fill layers and generators, I added more depth to the face: some darker colours into the cavities and some lighter one on the edges, as I wanted to put the clean sculpt and the curvature map that resulted from it to good use. I had to be careful not to overdo it though. at the end, I added some redness around the eyes and some brown colour to accentuate them. I also gave her freckles and some moles for more personality.
I then proceeded to the hair.
I kept it simple, as for most stylized characters, I rarely see much done to the hair in terms of texturing. I used masks to darken the cavities and highlight the edges, then a position generator to give the bottom part of the hair aa red tint. At the end, I had to paint the tips of the bangs using a fill layer with a black mask in order for them to match the rest of the hair.
I went on to texture the metal.
I used a fill layer with a procedural and a blur slope filter in order to add some colour and roughness variation and at the same time make it look hand-painted. I made another fill layer with a procedural in order to also add a tint of reddish brown to the metal, then used fill layers with mask editors to add darker colours into the cavities and highlight the edges. I also added some edge wear to the metal, but used a white mask in order to control the amount, as I wanted to follow the simple yet clean Overwatch style. Still, I added some detail of my own to it.
For the golden bits, I used the same material from the silver ones, but only changed the colour. I am really happy with how the tree came out, and how the curvature map caught the edges of the tree pattern and highlighted them.
For the leather, I used a height fill layer with a black mask and a Cell procedural in order to recreate the leather texture. I then added some colour and roughness variation using fill layers with black masks and procedurals, then used generators, specifically map editor, for the cavities and edges.
I painted the patterns on the leather braces and quiver gold, as I thought it would be a nice detail and a nice contrast to the dark leather. I had to turn the metalness up a bit though, as the colour didn't reflect the light in the way this type of shimmery gold paint placed on top of leather would in real life.
I didn't do much for the shirt, but add a few fill layers with black masks and generators to add some shadows into the cavities and some lighter tones on the edges. I used a blur filter though, as I wanted to keep the material looking somewhat soft. I also used a position generator to add an orange tint to the bottom of the shirt. I kept it simple overall, as there is already enough detail on the chest plate.
For the cloth around her waist I used the same material as for the shirt and changed the colour, as well as added a striped pattern to imitate the patterns on this piece of the traditional Romanian clothing, called a "Fotă".
I added some free patterns from a free stock photo found on a site called "dreamstime" (https://www.dreamstime.com/royalty-free-stock-photo-romanian-traditional-theme-cdr-format-image27766105) that I turned into a mask in photoshop and mixed together to make a new pattern.
I turned the materials I made into smart materials and used them on the rest of the model where necessary. For the pants, I used the same material as on the shirt and a position modifier to darken the lower part.
This is the final textured Hero:


No comments:
Post a Comment