Thursday, 11 May 2023

Major Project - "Gold": Saint Friday Texturing

Texturing-wise, there is not much I can tell, as I've used mostly the same techniques as I did on the Hero and used most of the materials across all three of the characters, since all of them are part of the same world and need to maintain the same art style and look cohesive. 


For the skin, I first added the tones of the face: some red on the cheeks and chin, some blue on the jaw and some yellow on the forehead. For Saint Friday, I used more of the yellowish tone and didn't lower the opacity of the layer as much, as I think the yellow makes her skin look older. 

I also made the cheeks and chin a bit glossier using a fill layer with only the roughness on. 
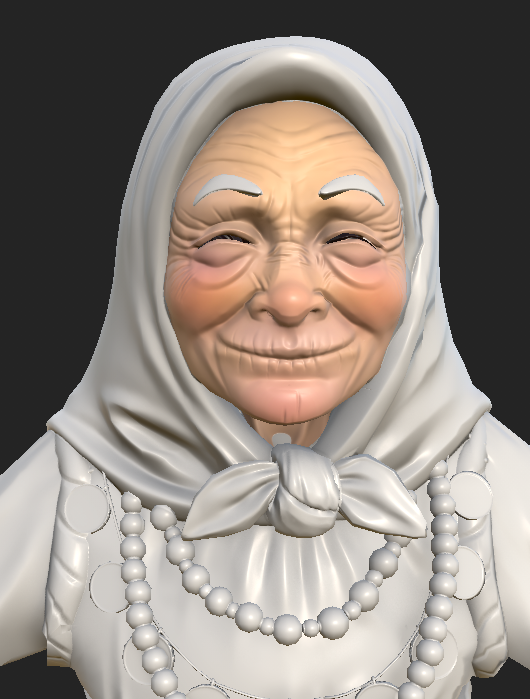

I then used fill layers with generators (mostly mask editor) in order to darken the cavities and lighten the edges, as well as add some ambient occlusion. 
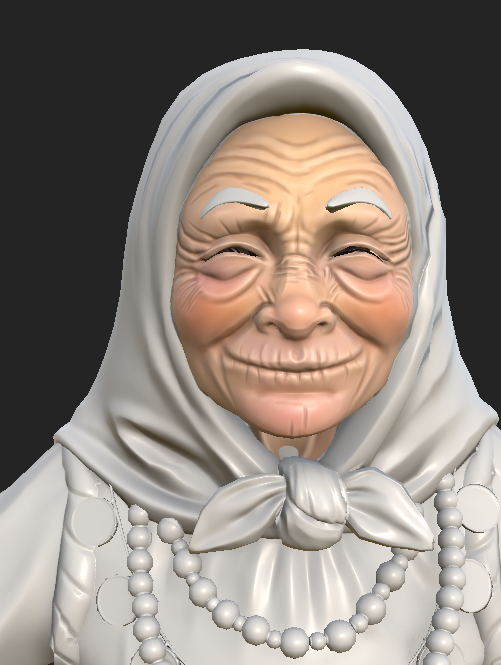

Lastly, I painted some darker spots on her skin using a Splatter brush. 
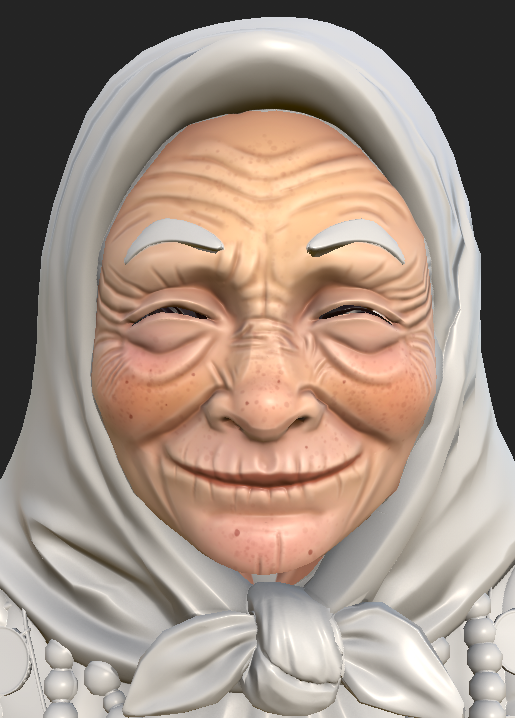

For the cloth I used the same material as the Hero's shirt and only changed the colour. 
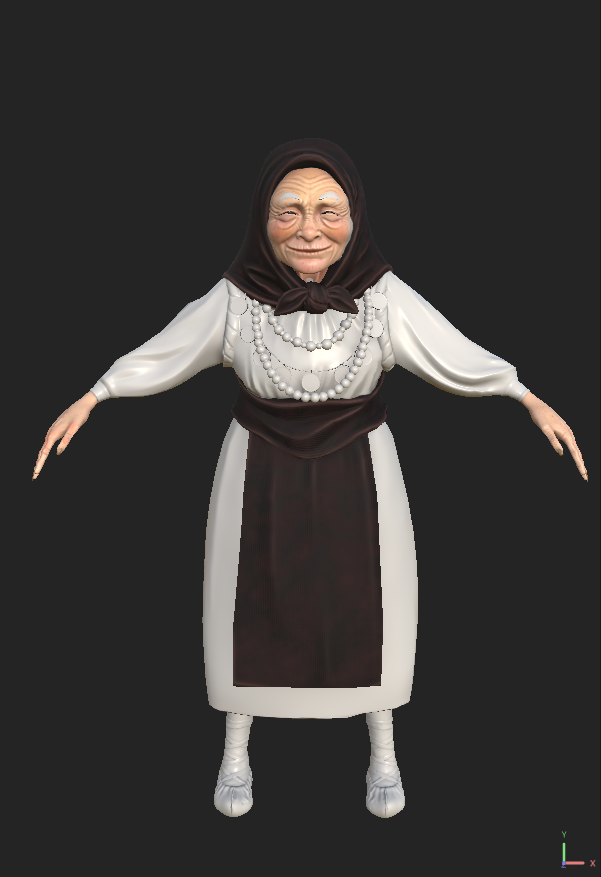


I used the same leather material as I did on the Hero for the shoes, but had to control the edge highlights using a white mask and erase them as they were too strong and some of them placed weirdly. I also used a position gradient in order to control where the mud would be on the shoes and keep it only on the bottom part. 


I used the same shirt material from the Hero together with the height information from the Wool smart material in Substance Painter.


I then used stock photos from the same site I got the patterns used on the Hero, as well as pieces of patterns mixed and matched from different photos in order to create my own pattern for granny's apron and headscarf. The most well known version of the popular costume is the red cloth one that I got inspiration for the Hero from, but I couldn't repeat that. So I used the colorful patterns on dark background version for it. 


For the dress: same material as for the Hero's shirt. At first, I also intended to keep it the same colour, but after getting feedback I realized that might not be a good idea. So I went through a few other options and decided on this shade of blue:
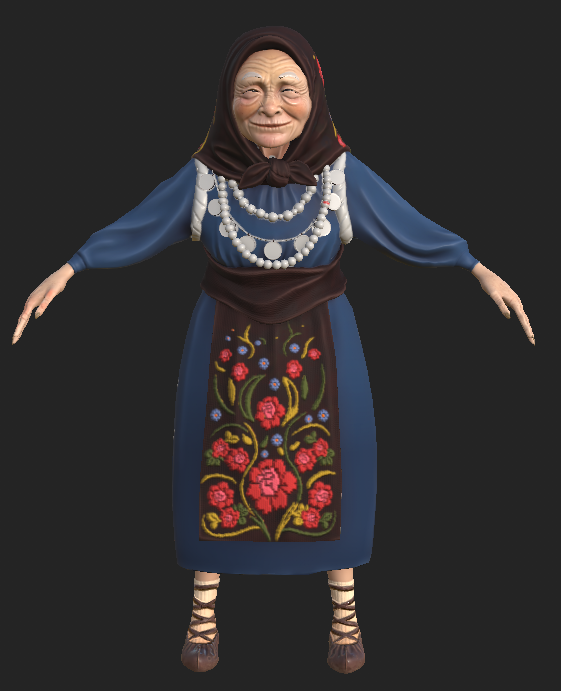

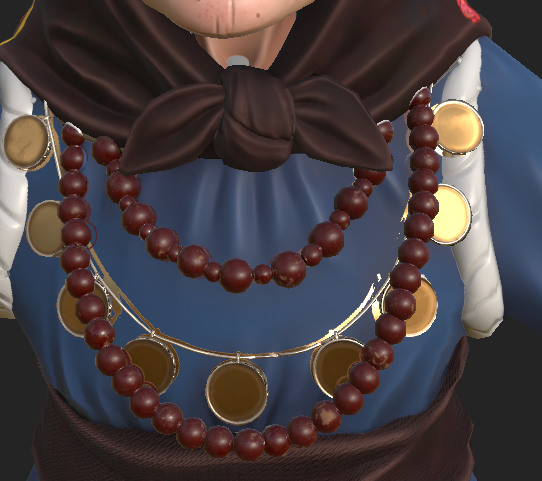
While texturing the coins, I used the metal material I used on the Hero too, only I toned down the wear and tear and the roughness, as I wanted the shiny coins to contrast with  the rough beads. When texturing the beads, I used a fill layer with a procedural in order to make it look like the paint and lacquer on them was wearing off, revealing the lighter wood underneath. 


For the backpack, I kept things simple. For most of the objects I used materials from the Hero: the blanket and the bag were using the shirt material as the base, while the pouch used the same leather, and the metal on the boxes was the same as the one used on the Hero's armour. I had to make the metal on the wooden box's lock look more worn, as it was a bit too shiny and didn't quit fit. 


I added details such as blood dripping and staining the bottom of the green bag, making you wonder what granny is carrying in there and adding to the creepy subtext along with the bones and fingers hanging onto the backpack. 


At the end, I used a dark blue fill layer with a position gradient all over the backpack, in order to add some unity to it. 


Major Project - "Gold": Saint Friday Retopology and Uwrap

In terms of retopology, I made sure to have clean deformation loops around the eyes and the mouth, It was a bit awkward, as I am not used to retopping characters that have an expression on their face and the wide smile confused me slightly at first, but I succeeded. 

Again, I tried to follow the edges that I would later unwrap along to make my work easier. 

For the beads and the coins on the necklaces, I made one first, unwrapped it, then duplicated it so I wouldn't have to unwrap all of them one by one. I tried packing them on top of each other, but later, in the baking phase, I noticed they weren't baking properly and realized that the reason was that they each were referencing a different high poly bead, so I had to go back and scatter them around the UVW sheet. 


For granny, I didn't stress on the deformation loops too much, as she would only be walking around, almost always in the same pose. 


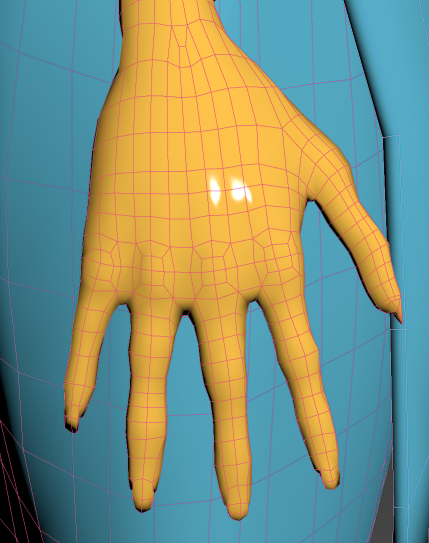
For the hands, I copied the hands from the Hero's retop and conformed them to the high poly. I had to redo the tips of the fingers as they couldn't conform properly and were caving in on themselves. Still, by doing this I saved myself a lot of time. 


When retopping the backpack, I mostly used the block out I made as a base for the sculpt, added deformation loops and conformed it to the high poly, which made everything easier. 


When unwrapping, I packed the body UVs into 2 sheets. As for the backpack, I packed everything as neatly and closely as I could, as I didn't want to use more than one sheet for it. 


\


Major Project - "Gold": Sculpting Saint Friday

For Saint Friday's sculpt I had to start from scratch as her body type as well as her posture, were too different from the base sculpt I used for the hero, so it would have taken as much work, if not more, to try to modify that one. 

I started with some basic, blobby shapes, and worked fast without worrying about details for now. At first, I modelled her with her back straight, thinking of changing her posture later while posing her, but taking into consideration that she isn't supposed to do any exaggerated poses, I figured sculpting her with her back bent from the get go would save me some time. After all, she would never show up in-game with her posture straight. 


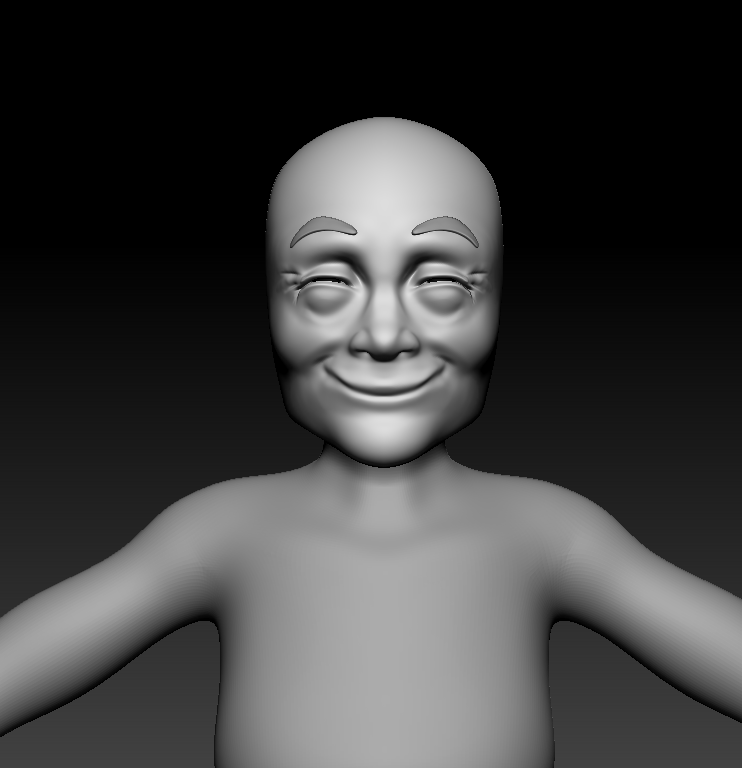
I then started to sculpt the face, placing a big, continuous and slightly unsettling smile on her face. Her eyes are barely visible and her face is always frozen in a smile as she interacts with the player. In some way, I think Saint Friday resembles the Happy Mask Salesman from "The Legend of Zelda" franchise, both because of the smile and the heavy backpack they carry, although this wasn't originally intended and these are just some similarities I noticed. 

This is when I started to think that in the context of a game, Saint Friday would be more than a mentor and adviser, but also the merchant character that provides the player with the opportunity to buy and sale items, showing up randomly during the story, much like the Merchant from "Resident Evil". 

Like the Happy Mask Salesman and the Merchant, I wanted Saint Friday to be an eerie and mysterious character. At first glance, she is going to look like a kind and harmless grandma, but as the player starts taking in the details (the things she carries in her backpack, her unnerving frozen smile) they will realize that there is more to the gentle granny than it seems. 


After setting up the big shapes, I started defining her features and the muscles of her arms and neck. I didn't go into detail on the torso and leg area, as they won't be visible anyway because of the dress. 


I made her clothes in Marvelous Designer, then brought them into Zbrush and simplified the shapes.


After struggling for a while to tie the material into a bow in Marvelous Designer, I decided to sculpt it separately and attach it to the headscarf. I gave the edge of the scarf some thickness using the Inflate Brush, which I think helped define the shape more. I also made the skirt more puffy by dragging the shapes with the Move brush. 

For the hands, I copied the hands from the hero and brought them into this file, attached them, then elongated the fingers. I then used the Inflate brush to inflate the joints of the fingers to make them look more bony and crooked.


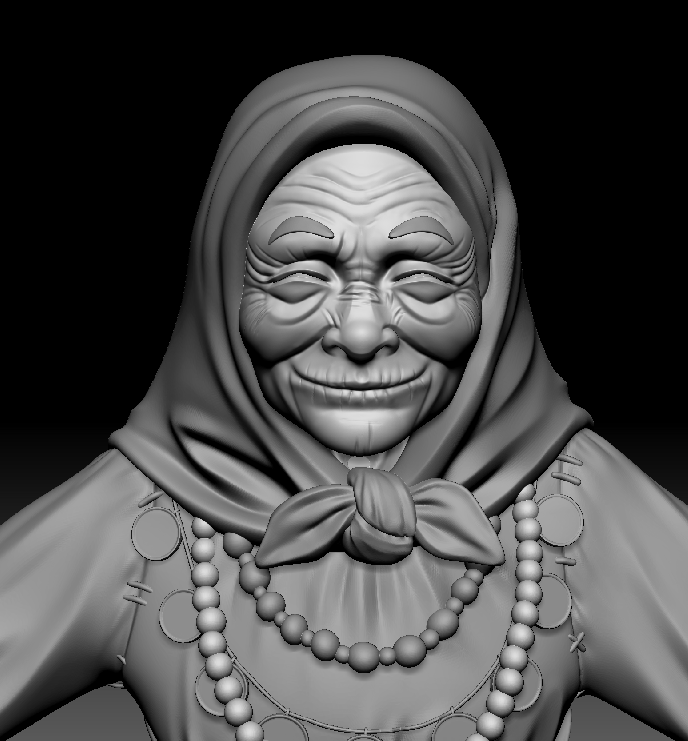
I then added the apron-like cloth and some of the beads on her neck and started sculpting the folds on her headscarf and clothes. I used Orb Cracks and Clay Buildup as well as the Smooth brush for it. 


I sculpted the rest of the beads and the coin necklace around her neck, as well as added more wrinkles to her face and cleaning up the shapes. I'm quite proud with how the wrinkles look and overall the shape of the face and her features. 


Lastly, I made her shoes, which are what common people used to wear in Romania in the past. They are called "opinci" and are made of leather sewn together with thick thread and were usually worn with wool socks, especially during winter. 

I added some wear and tear to the leather, as it would be worn out due to walking around so much as a "merchant". 


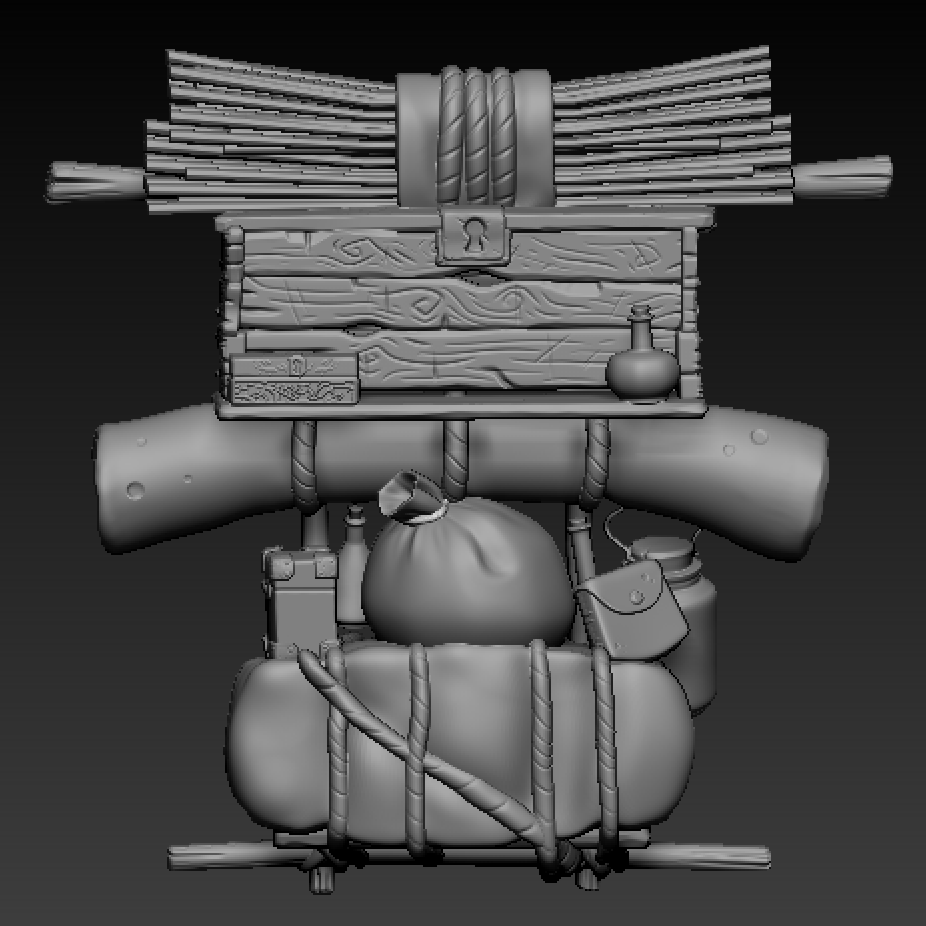
For the backpack, I first blocked it out in 3ds Max to make sure that it will fit on granny's back and to experiment with the silhouette.  


I kept the objects simple, so, besides the wooden chest at the top, it didn't take long to finish the sculpt. Some things, such as the bones and bird skull and the severed fingers, I had to sculpt separately and bring them in as they weren't part of the original block-out I used as a base.

On the small box on the left, at the top of the backpack, I used the same tree pattern as on the girl's chest plate as a little Easter egg. Who knows, maybe inside there would be an item that Saint Friday gifts the Hero when they need it most, before the final battle.


Major Project - "Gold": Hero Final

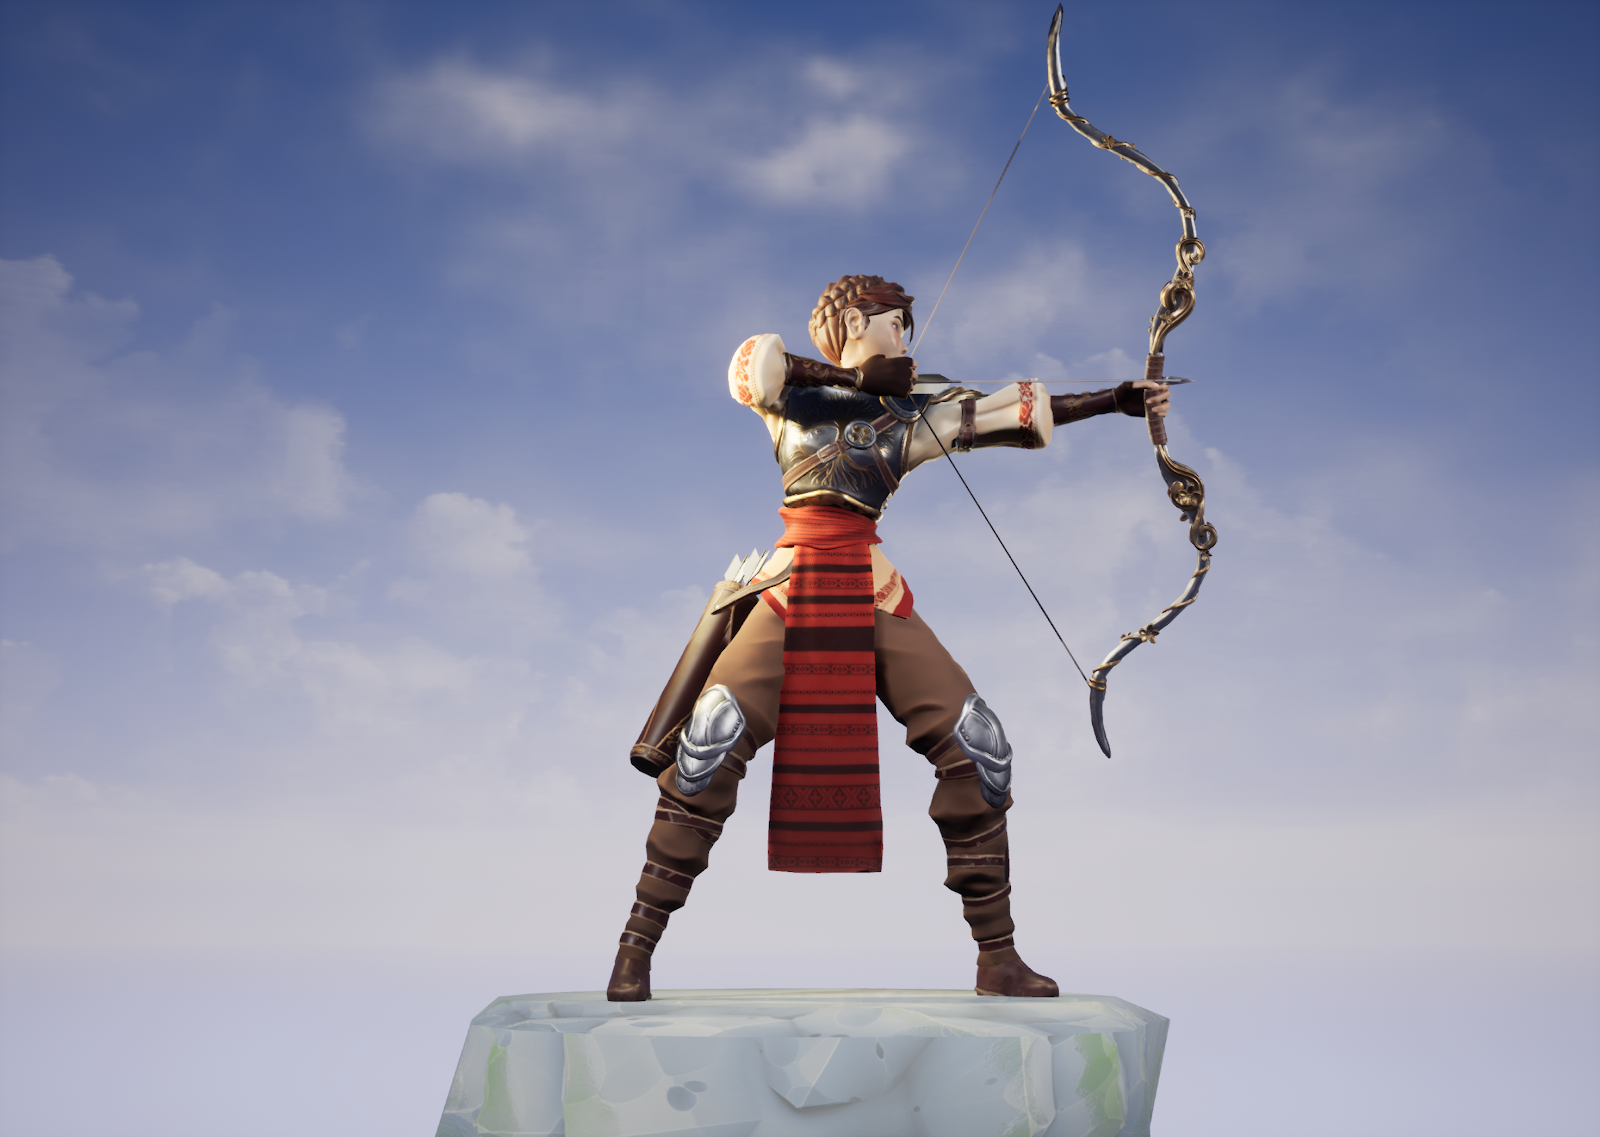
After placing the character in Mixamo and giving it one of the longbow poses, I had to edit some of the skinning as some bits such as the shoulders and arms were slightly deformed. The chin was also deforming, following the left shoulder and I had to weight it completely to the head bone, while making sure at the same time it wouldn't clip through the shoulder pad. There ended up being some slight clipping, but it's nothing very obvious and couldn't be avoided without deforming the shoulder armour. The chest armour was also deforming weirdly, especially in the underarm area, as parts of it were weighted to the shoulders and arms. I welded all of the chestplate to the spine bone to keep it from deforming. There's a little bit of weird deformation on the laces on one of the leather braces on her forearms, which I spent some time on trying to get it fixed, but as time until the deadline was running out, it couldn't be helped. whether I tried to weight it to the forearm or the hand, it either floated off the brace or part of it would clip in. 


Final step: getting the character into Unreal Engine, putting the textures together and lighting the scene. 

For the presentation, I put together a pedestal and made the texture for it in Substance Designer, then used a parallax occlusion node to give it depth. 

In terms of lighting, I went for a simple yet effective method and used the three point lighting system. I set the colour of the light to warmer tones, to fit the hero's kind and calming, yet strong vibe. 


Overall, I'm really happy with how the Hero turned out. I think it resembles the Overwatch style I was going for, while still showcasing my own personal touches and style through a more hand-painted look. I'm quite proud of the result as I can see how the quality of my work has improved from last year and even last term. I am also very pleased with how much personality the character has and how the design fits the protagonist trope while also being original in it's portrayal of Romanian traditional elements.

Last, but not least, I am very happy I could bring the stories of my childhood to life, in the form of video game characters. This project was as much a personal project, as it was an FMP, and it had so much significance to me as the "Gold" concept and old designs for the characters were part of the portfolio that got me accepted into university. 

The tale and these three characters are dear to me for these reasons, and so I'm happy I could do the Hero just with this final design. 


Major Project - "Gold": Hero Texturing

For this project specifically, my favourite step was texturing. I think it really brought the characters to life and it's always nice to see them come together. 


I started with the face, throwing on a plain colour first. I had little to none very visible errors, although I had to do an exploded bake first, because the hair strands kept baking onto each other no matter how I adjusted the settings. I also had some weird artifacts going on on the back of the hair, which turned to be because of the high poly mesh being too thin (and the head underneath probably baking onto the hair, although I am not sure). I had to therefore go back into Zbrush and use Zmodeler to add some thickness underneath the hair then reimport the high poly mesh. 


I first added some tones to the face using paint layers and a blur filter to even them out: some red tones for the cheeks (and a bit on the nose and chin to make her cuter), yellow tones mainly on the forehead and a bit on the cheeks and some blue tones on the jaw and underneath the eyes. I also added some glossier surfaces on the cheeks and chin. 

Using fill layers and generators, I added more depth to the face: some darker colours into the cavities and some lighter one on the edges, as I wanted to put the clean sculpt and the curvature map that resulted from it to good use. I had to be careful not to overdo it though. at the end, I added some redness around the eyes and some brown colour to accentuate them. I also gave her freckles and some moles for more personality. 


I then proceeded to the hair. 


I kept it simple, as for most stylized characters, I rarely see much done to the hair in terms of texturing. I used masks to darken the cavities and highlight the edges, then a position generator to give the bottom part of the hair aa red tint. At the end, I had to paint the tips of the bangs using a fill layer with a black mask in order for them to match the rest of the hair.


I went on to texture the metal.


I used a fill layer with a procedural and a blur slope filter in order to add some colour and roughness variation and at the same time make it look hand-painted. I made another fill layer with a procedural in order to also add a tint of reddish brown to the metal, then used fill layers with mask editors to add darker colours into the cavities and highlight the edges. I also added some edge wear to the metal, but used a white mask in order to control the amount, as I wanted to follow the simple yet clean Overwatch style. Still, I added some detail of my own to it. 


For the golden bits, I used the same material from the silver ones, but only changed the colour. I am really happy with how the tree came out, and how the curvature map caught the edges of the tree pattern and highlighted them.


For the leather, I used a height fill layer with a black mask and a Cell procedural in order to recreate the leather texture. I then added some colour and roughness variation using fill layers with black masks and procedurals, then used generators, specifically map editor, for the cavities and edges.


I painted the patterns on the leather braces and quiver gold, as I thought it would be a nice detail and a nice contrast to the dark leather. I had to turn the metalness up a bit though, as the colour didn't reflect the light in the way this type of shimmery gold paint placed on top of leather would in real life.


I didn't do much for the shirt, but add a few fill layers with black masks and generators to add some shadows into the cavities and some lighter tones on the edges. I used a blur filter though, as I wanted to keep the material looking somewhat soft. I also used a position generator to add an orange tint to the bottom of the shirt. I kept it simple overall, as there is already enough detail on the chest plate. 
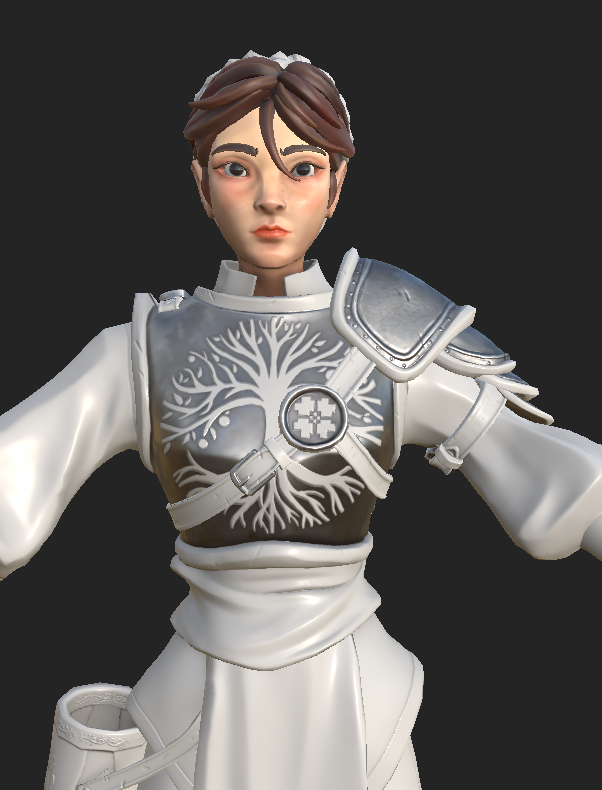
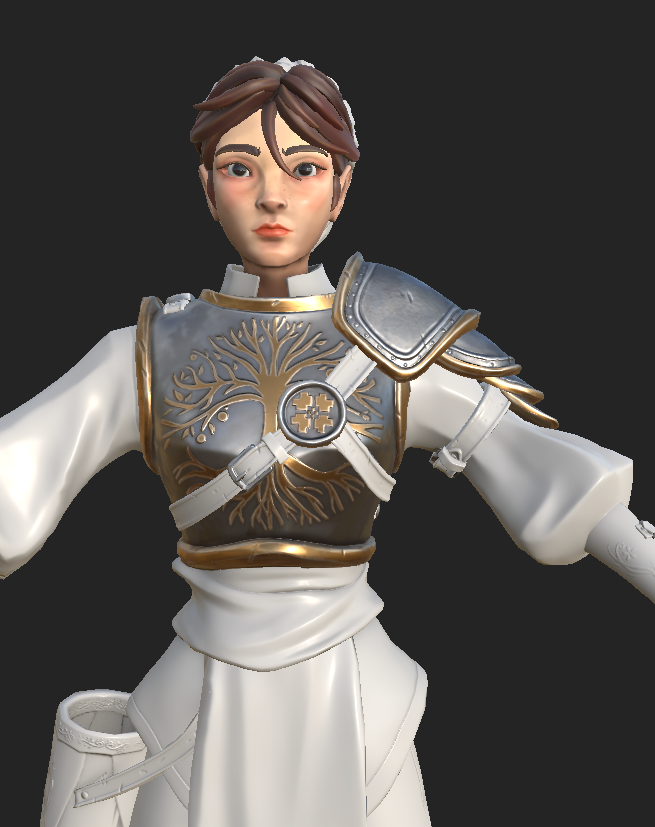

For the cloth around her waist I used the same material as for the shirt and changed the colour, as well as added a striped pattern to imitate the patterns on this piece of the traditional Romanian clothing, called a "Fotă".


I added some free patterns from a free stock photo found on a site called "dreamstime" (https://www.dreamstime.com/royalty-free-stock-photo-romanian-traditional-theme-cdr-format-image27766105) that I turned into a mask in photoshop and mixed together to make a new pattern.

I turned the materials I made into smart materials and used them on the rest of the model where necessary. For the pants, I used the same material as on the shirt and a position modifier to darken the lower part. 

This is the final textured Hero:


Major Project - "Gold": Texturing The Zmeu

 The texturing for Zmeu was the most tedious out of all of them. I used fill layers and masks as much as possible to give the scales some de...